1. First, head on over to http://www.picnik.com/. Once the page loads (it can take awhile) and you've created a basic account (its FREE!), choose the photo you want to edit by clicking "Upload Photo".
2. Once your photo uploads, you'll be put straight into the Edit menu. From here, you can crop, rotate and spin your photo to create amazing angles, and edit the exposure of your photo. I don't recommend using the "Auto-fix" option; as you'll do a better job using the steps I'm giving you.
3. Once you've cropped and/or rotated, select "Exposure".
4. Click "Advanced" on the menu bar that pops up.
5. A small graph will appear on the right side; drag the "Highlights" bar to the right until your photo appears light enough, yet not over exposed. You can always add more highlights later; be careful not to add too much, as your photo will appear overexposed.
6. Next, drag the "Shadows" bar to the right (it usually doesn't take much) and watch the colors pop on your photo! Be careful not to overuse this; it can distort the true colors of your photograph.
7. Click "OK" when you're finished.
8. You can play around with the other edit functions - but beware of the "Sharpen" function; I learned the hard way! You can also play with the "Temperature" of your photo, making it warmer if the lighting was too cool, etc. If you don't know what these terms mean, don't worry, just play around with them and you'll understand what they do.
9. To save your photo, click on "Save and Share". If you're saving for Etsy, I change the width dimension to 1500 to ease in uploading, and leave the length; it will adjust accordingly. Then click "Save" at the bottom, and your photo will be saved to your computer. Note: if you go into your photo folders, the thumbnail that appears might be the original photo; never fear -your edits will be clear when you open the photo!
Your photos should now look much, much better! I have to edit 99% of the photos I take in some way with regards to exposure; its extremely rare for me when a photo is taken perfectly just by pointing-and-shooting, especially if you're shooting product shots. Knowing how to edit your photos allows you to shoot photos during most daylight hours, which is very helpful for me.
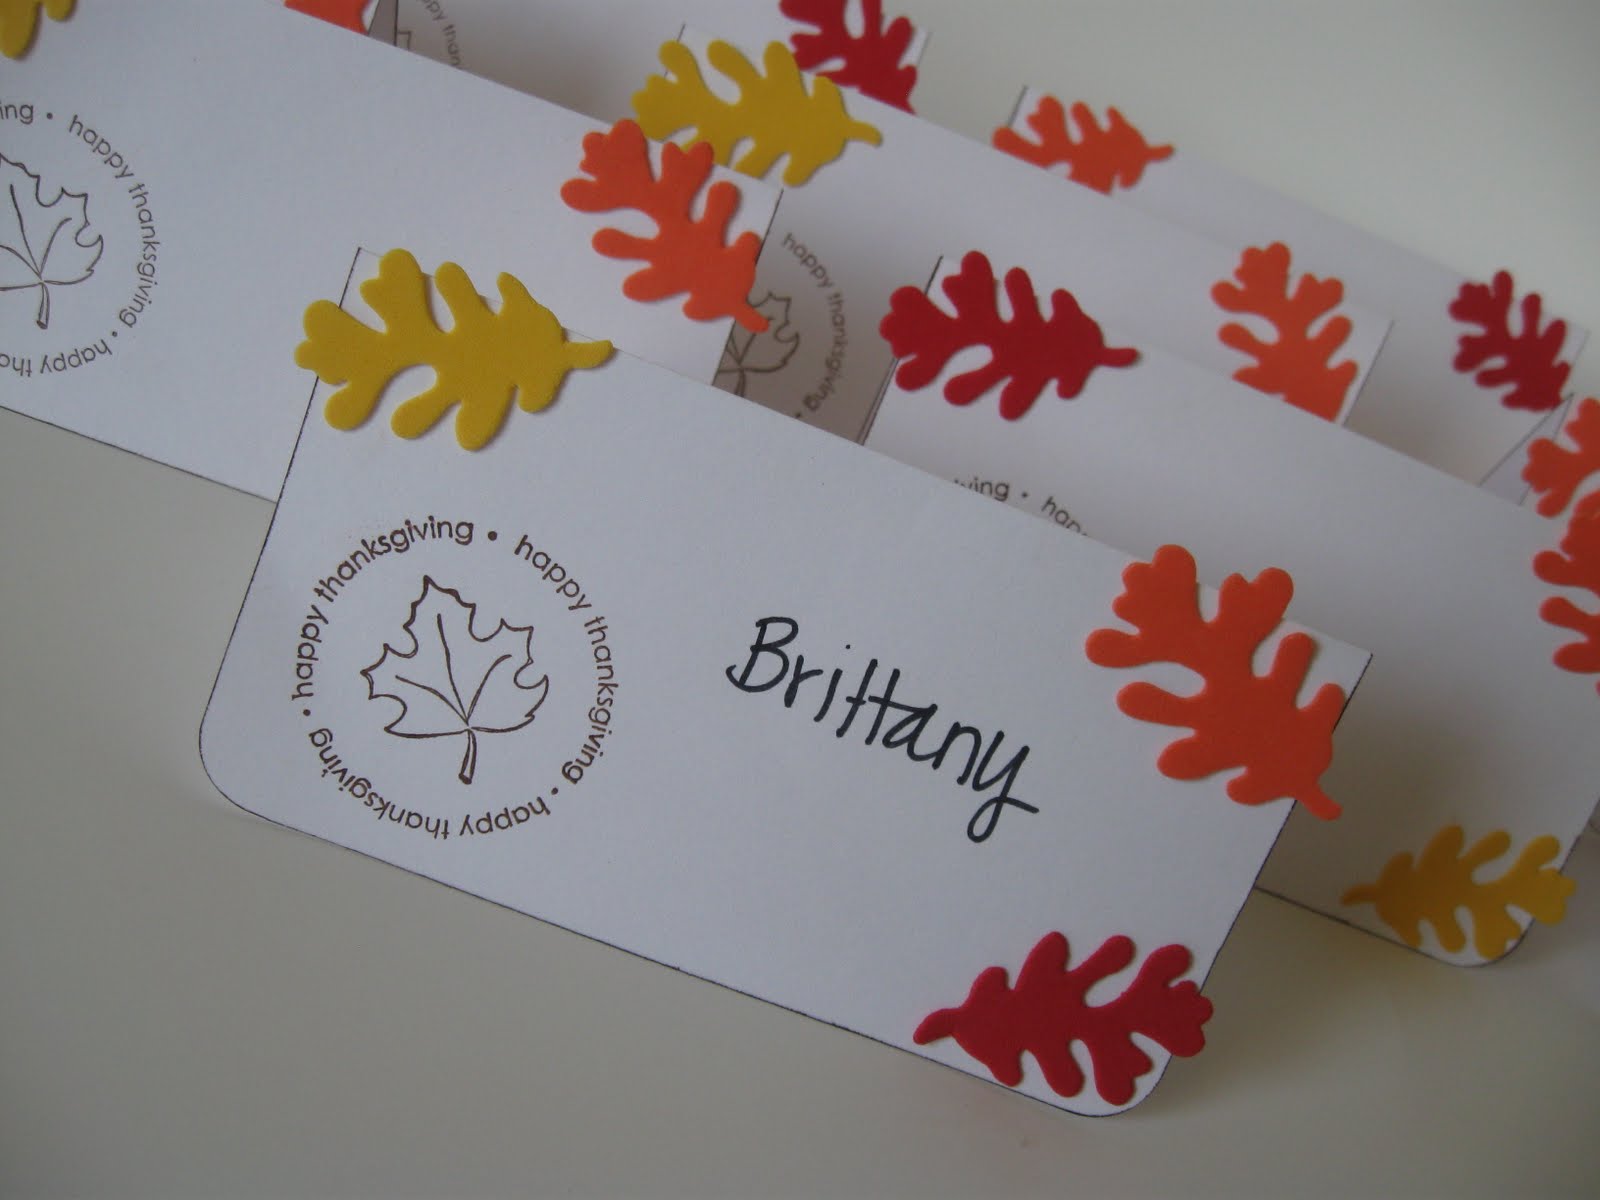
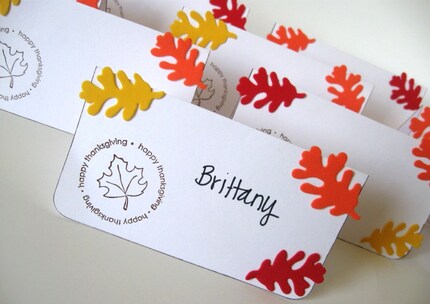
Here are a few before/after product shots of mine that were edited using Picnik. The first set only needed exposure correction; the second set used the "Rotate" feature plus exposure correction. The "after" shots in both are my first product shot for the respective listing, thanks to some editing magic!


I'd love to hear some success stories! Leave your comments below - good luck!
Thanks for the recommendation of Picnik. I've never used that before, but I'm a Photoshop dunce, so I am definitely gonna try it!
ReplyDeleteThank you for recommendin Picnik, I am going to check it out. I used PE6 with some help from my son. I need to learn better photography skills because my photos aren't very good. I really like your blog and your designs.
ReplyDeletexo Susi xo